How To Install Theme
This documentation explains how to install the EduxPro Drupal Theme on your Drupal website. You can install the theme using FTP / File manager.
Methods to Install Theme
- Manual Installation Using FTP / File Manager: Theme can be installed by uploading theme files to your hosting server using FTP / File manager.
Step #1 – Download Theme
After purchase, you can download the theme file from your account page. Follow the steps below to access your purchased theme files.
- Log in to Your Account
- Once logged in, go to the Downloads Page. Here you can see the list of purchased files available for download.
- Click the file name to start downloading the .zip file of the theme.
Step #2 Extract File
- Extract the downloaded eduxpro-drupal-theme.zip file on your computer.
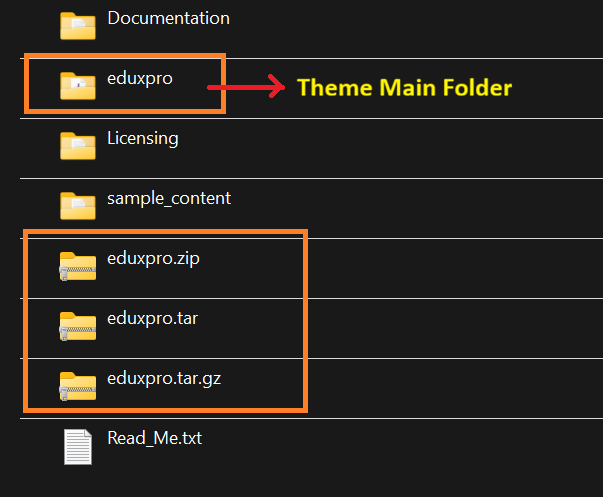
- Open the extracted eduxpro-drupal-theme folder. You will find following folder and files.
eduxpro (folder)- This is the main theme folder. You need to upload only this folder.
eduxpro.zip, eduxpro.tar, eduxpro.tar.gz – These are just compressed files of the main theme folder.
Step #3 – Upload the Theme to Your Server
- Connect to your hosting server using any FTP client (such as FileZilla). You can also use File Manager of your hosting control panel (such as cPanel / DirectAdmin / Plesk).
- Once connected to your hosting server, upload eduxpro folder to /themes or /themes/custom/ or /web/themes or /web/themes/custom directory of your Drupal installation.
Step #4 – Enable the Theme
After uploading theme files, log in to your Drupal admin dashboard.
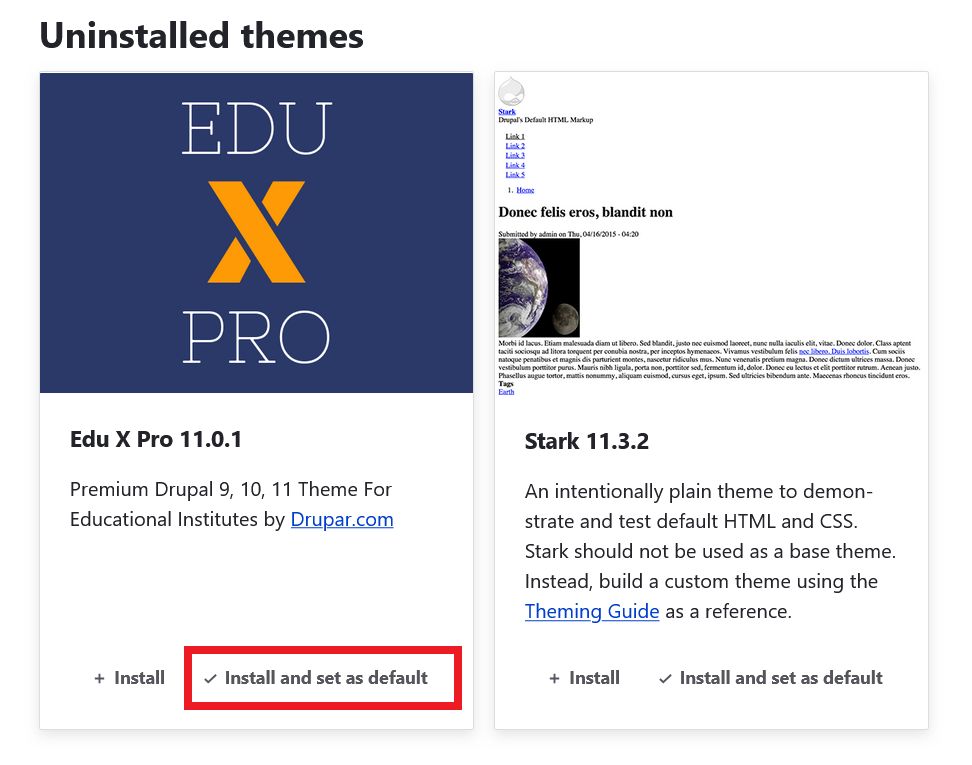
- Go to Appearance page.
- Find EduxPro theme.
- Click Install and set as default.
Step #5 – Clear Cache
After enabling the theme, clear the Drupal cache to ensure all styles and configurations load correctly from:
Configuration Development Performance
example.com/admin/config/development/performance
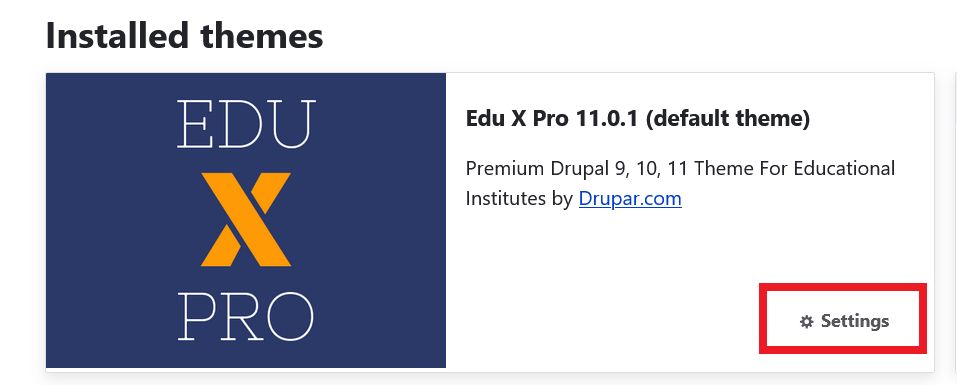
Step #6 – Check Theme Settings
After enabling the theme, go to the theme settings page to configure the available options.
example.com/admin/appearance/settings/eduxpro